Introduction
This article will guide you through the process of adding or editing a negative finding. You will also be shown how to view corrected and non-corrected findings.
Adding a New Negative Finding
- Edit your Inspection to add findings; help article here.
- After creating a new inspection, scroll down and select the contractor associated with the positive finding.
- Select the appropriate category for the finding.
- Click ‘Add Note’ on the appropriate question.
5. Complete all of the appropriate Fields
- Location: The specific location within the project/site where the observation occurred.
- Description: Describe the finding.
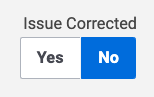
- Issue Corrected (Yes/No): Select YES if the issue was resolved at the time of the observation. Select NO if the issue needs to be corrected.
- Action Required: What action is required to correct the issue?
- Due Date: If the issue is not resolved, when is it due?
- Assigned To: If the issue is not resolved, who has to fix it?
- Action Taken: If the issue is resolved, how was it corrected?
- Correct Date: If the issue is resolved, when was it resolved?
- Corrected By: If the issue is resolved, who corrected it?
- Risk Level: What was the risk level?
- Root Cause: What caused the issue?
- Upload any photos or other documentation.
- Click ‘Save’.
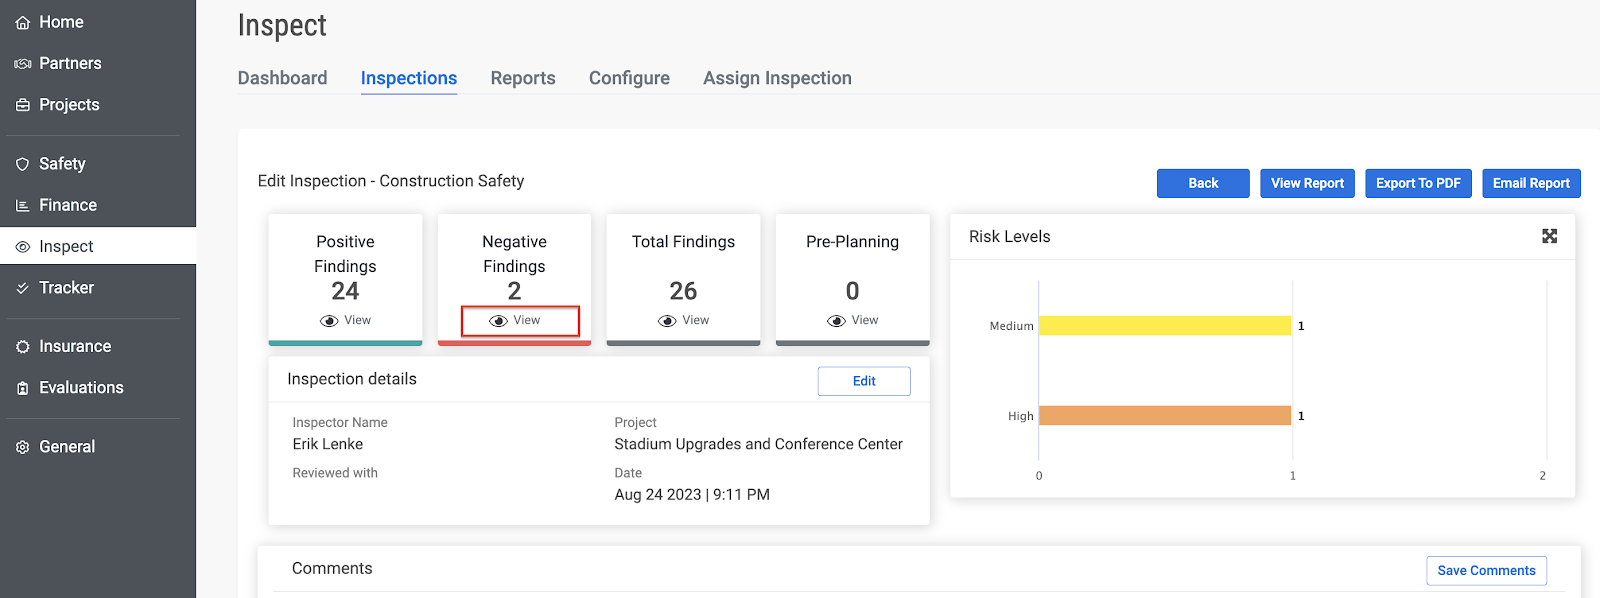
Finding and Editing a Negative Finding
1. Click ‘View’ in the negative findings box at the top of the report.
2. Click the pencil icon within the finding you want to edit.
3. Make appropriate changes.
4. Click ‘Save’.